I had to sign and notarize the Posh TUI Mac app. The problem is that our household moved away from Apple. My last MacBook (Intel-based) was converted into an Omarchy machine for my son. But all the documentation assumed access to a MacBook and Keychain.app.
So what should I do? Rent a Mac in the cloud? Borrow someone’s MacBook for a couple of hours? There is nothing inherently Apple-specific about signing apps.
According to the GoReleaser documentation, these things are required for signing and notarization.
MACOS_SIGN_P12- base64-encoded Developer ID Application.p12MACOS_SIGN_PASSWORD- password for the.p12MACOS_NOTARY_KEY- base64-encoded App Store Connect.p8MACOS_NOTARY_KEY_ID- App Store Connect key IDMACOS_NOTARY_ISSUER_ID- App Store Connect issuer UUID
Here’s how to get all of these on Linux (Fedora, in my case). This guide assumes that you already have an Apple Developer Account and have paid the $99/year fee.
Developer ID Application (aka .p12)
The first stage is application signing, and it’s the tricky part. This requires some OpenSSL kung fu to get all the certificates and keys right.
1. Generate a private key
Do this if you don’t have one already. Store it safely.
openssl genrsa -out mykey.key 2048
2. Generate a Certificate Signing Request (CSR)
After this operation, you will have a CertificateSigningRequest.certSigningRequest file.
openssl req -new -key mykey.key -out CertificateSigningRequest.certSigningRequest -subj "/emailAddress=krooni@skatkov.com/CN=Stanislav Katkov/C=NL"
3. Upload the CSR to Apple’s Developer Portal
Go to your Apple Developer account and create a new certificate.
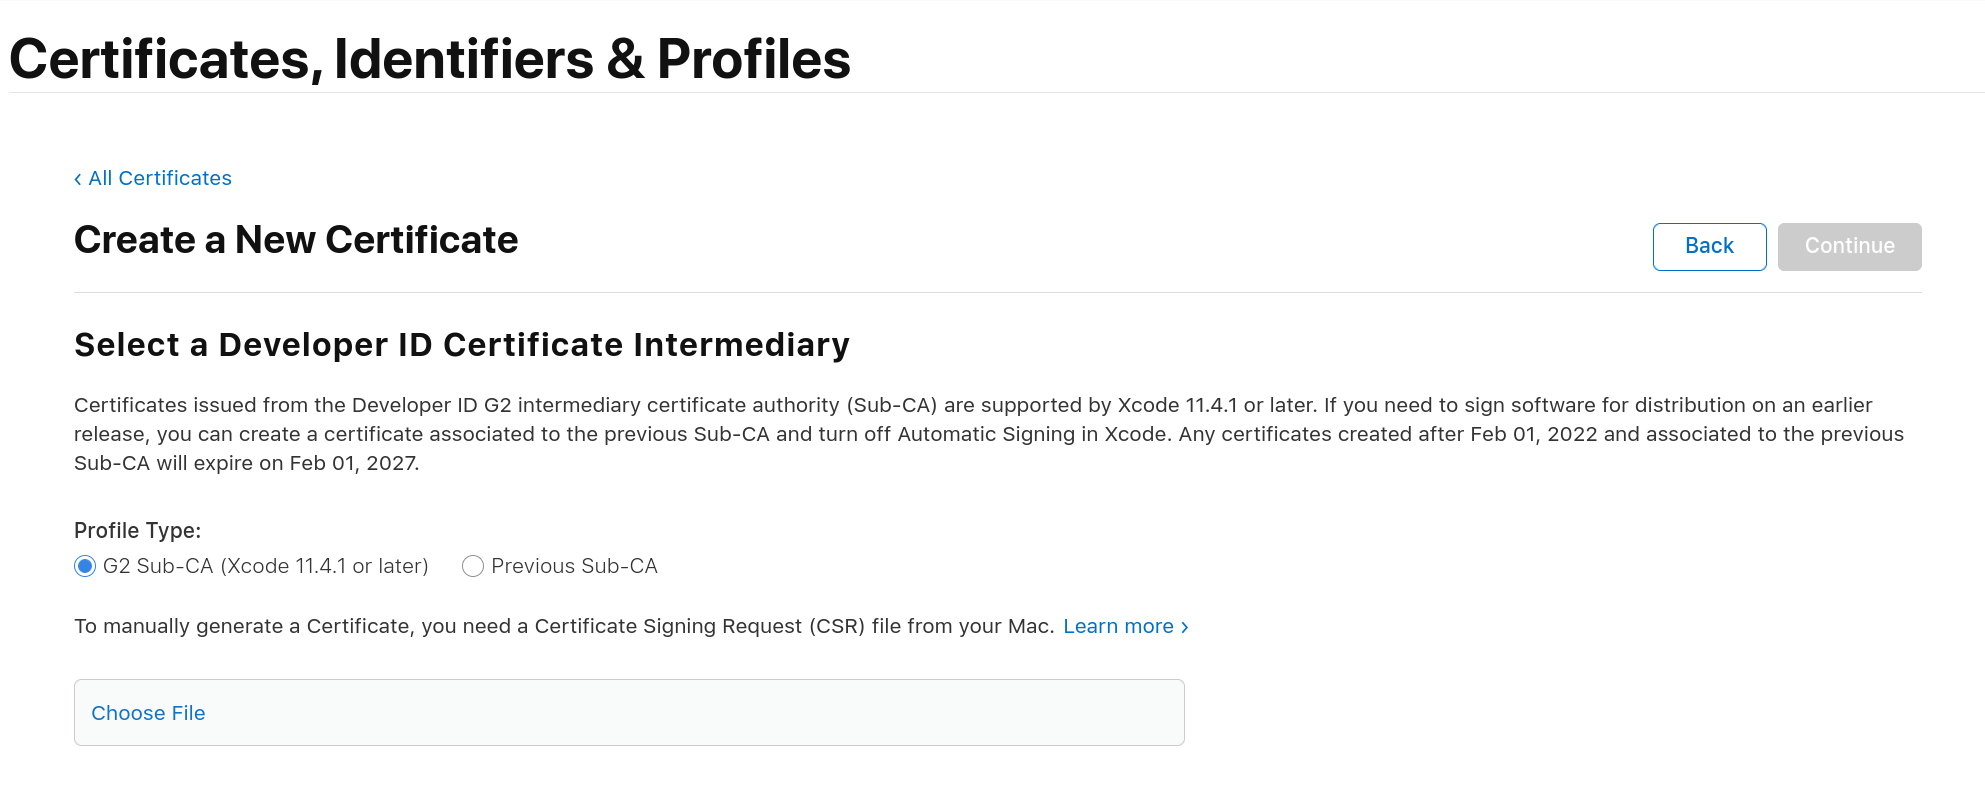
This is where you should upload that CertificateSigningRequest.certSigningRequest file. Apple website will give you a .cer file in return: the actual certificate, signed by Apple.
Steps to Create the .p12
Convert Apple’s .cer file (DER format) to PEM format:
openssl x509 -inform DER -in developerID_application.cer -out developer_id.pem
Combine the certificate and your private key into a .p12 file:
openssl pkcs12 -export -out Certificates.p12 \
  -inkey mykey.key \
  -in developer_id.pem
During export, OpenSSL will ask you to set a password for the .p12 certificate. You can skip it, but I suggest setting one. Store it in your password manager.
Now we have Certificates.p12 certificate on our hands. And we can proceed to next step.
Getting the .p8 key
Gathering everything required for notarization is the easiest part. It requires downloading one file and copying a couple of values.
- Go to the App Store Connect portal (https://appstoreconnect.apple.com) and log in
- After logging in, open the Users and Access section, then click the Integrations tab
- On the Integrations page, you’ll find the Issuer ID and the option to create a new API key. Click the + button to create one
- The new key needs to have at least the App Manager access level
- Click Download API Key to download the key
It will be saved as a .p8 file named AuthKey_[key_id]. Besides this .p8 key, we need 2 more things from this page:
| Item | Where to find it |
|---|---|
| Key ID | Shown in the key list |
| Issuer ID | Shown above the “Active” table |
Assembling all of this together
Now for the signing process.
In my case, I had to make 3 tools work together.
GoReleaser
Your .goreleaser.yaml should look like this:
notarize:
  macos:
    - enabled: '{{ isEnvSet "MACOS_SIGN_P12" }}'
      sign:
        certificate: "{{.Env.MACOS_SIGN_P12}}"  # base64 encoded .p12
        password: "{{.Env.MACOS_SIGN_PASSWORD}}"
      notarize:
        issuer_id: "{{.Env.MACOS_NOTARY_ISSUER_ID}}"
        key_id: "{{.Env.MACOS_NOTARY_KEY_ID}}"
        key: "{{.Env.MACOS_NOTARY_KEY}}"  # base64 encoded .p8
GitHub Actions
The same ENV variables need to be added as secrets to your GitHub repository. With the following small change, you can expose them as ENV variables for GoReleaser.
jobs:
  goreleaser:
    runs-on: ubuntu-latest
    steps:
      - uses: actions/checkout@v4
        with:
          fetch-depth: 0
      - uses: goreleaser/goreleaser-action@v7
        with:
          distribution: goreleaser
          version: "~> v2"
          args: release --clean
        env:
          GITHUB_TOKEN: ${{ secrets.GITHUB_TOKEN }}
          MACOS_SIGN_P12: ${{ secrets.MACOS_SIGN_P12 }}
          MACOS_SIGN_PASSWORD: ${{ secrets.MACOS_SIGN_PASSWORD }}
          MACOS_NOTARY_KEY: ${{ secrets.MACOS_NOTARY_KEY }}
          MACOS_NOTARY_KEY_ID: ${{ secrets.MACOS_NOTARY_KEY_ID }}
          MACOS_NOTARY_ISSUER_ID: ${{ secrets.MACOS_NOTARY_ISSUER_ID }}
Mise
For a local release, put the same values in an uncommitted mise.local.toml:
redactions = ["MACOS_*"]

[env]
MACOS_SIGN_P12 = "/absolute/path/to/Certificates.p12"
MACOS_SIGN_PASSWORD = "p12-password"
MACOS_NOTARY_KEY = "/absolute/path/to/ApiKey_AAABBBCCC.p8"
MACOS_NOTARY_KEY_ID = "AAABBBCCC"
MACOS_NOTARY_ISSUER_ID = "issuer-uuid"
Testing
Testing the entire process without issuing a new release is easy with the --snapshot attribute for goreleaser release command. It skips many steps, like publishing and announcements.
goreleaser release --clean --snapshot
The first notarization process took a lot of time (more than 12 hours), so I installed quill locally to monitor the submission status.
mise exec -- sh -c 'quill submission status <submission-id> --notary-issuer "$MACOS_NOTARY_ISSUER_ID" --notary-key-id "$MACOS_NOTARY_KEY_ID" --notary-key "$MACOS_NOTARY_KEY"'
Once the status changes from Pending to Accepted, you know that everything is good to go.
Closing notes
Everyone tells me that there are so many things you can’t do on Linux. But I’ve successfully dodged the need to buy another Windows/macOS machine for the last 8 years. This is another “Nope, Linux is enough” post.
Feel free to try the latest release of POSH TUI as proof that it’s possible to sign and notarize a macOS app without touching an Apple laptop.